How To Create A Basic Working Image Archive for Your Nonprofit

A few months ago, I did a storytelling webinar for Techsoup and I polled the audience to ask how they selected images that they used for their nonprofits. Most of the participants said that they used a small batch of photos over and over again or that they used images that they took on their smartphone. Is that what you do as well? I’ve organized archives since the beginning of my career and I thought it might be helpful to show you how to create an archive of working images. A working archive is a small batch of high quality images that your organization can use for presentations, website, annual reports, and campaigns. Having it pre-organized can save you and your colleagues many hours of digging through files.
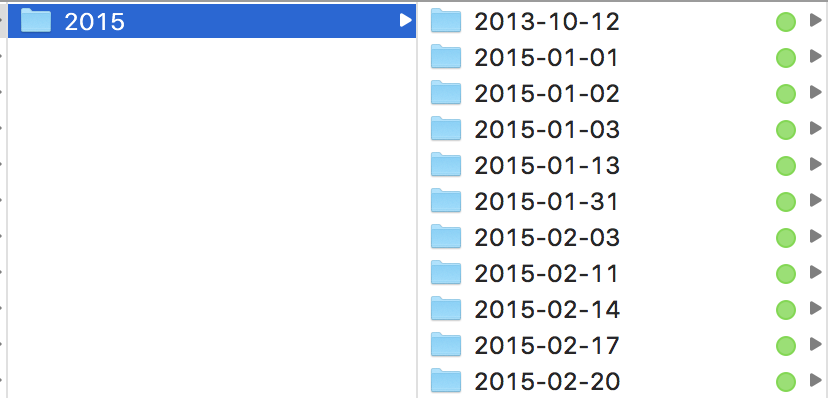
The first step is to move all of your files together to the same place. I prefer to use a hard drive as opposed to someone’s computer so that it’s easier to access. I sort my files by year. You might also consider placing them in folders by project so that you can easily find images that relate to the materials you are working on.
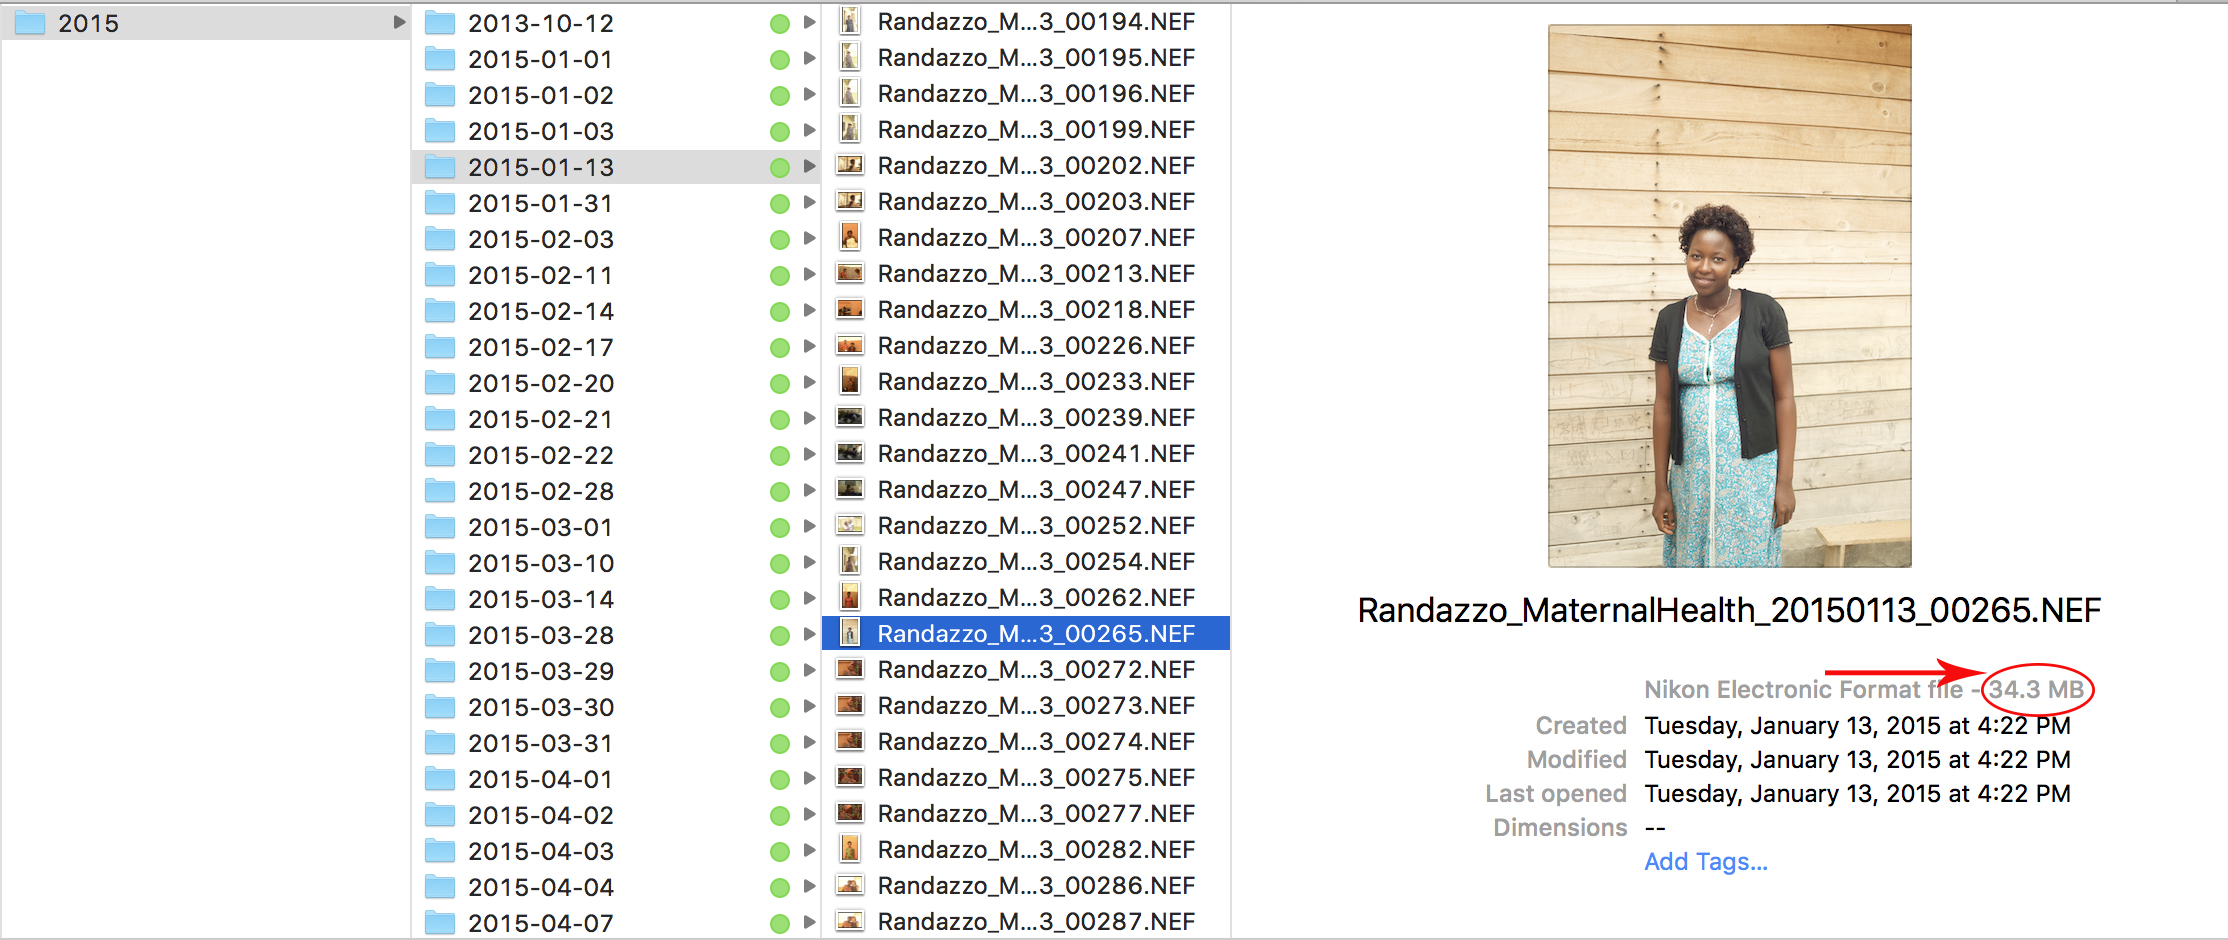
From here I’d do a quick cull to make sure that the files you have are actually of usable quality. Each file needs to be at least 2 MB for optimal use. You can print a quality 5x7 image with a 2 MB file. Your working archive should only have images that can work for you in both web and print, so even if you love a photo if it’s too small you need to get rid of it. Poor quality images just read as unprofessional. You will likely find that you have many duplicate images. Make sure that you are keeping the largest possible file (usually the original) prior to deleting anything. Smaller versions may be edits from a different file, but you need the larger files size for a useable image.
Once you have all of your files organized into folders. This is a great time to name your files. You should read my post on the best way to name files and what software makes it easier. File naming allows you to scan through your images and know exactly what you are looking at without having to open each photo up.
Once you have a small selection of high quality images sorted, I’d recommend going back in and writing captions for each image. Laura wrote a great post on why captions are important and how to write them. Having a caption means that it’s easy for everyone in your organization to know the who, what, where, and when of each photo. Everyone in your organization with thank you for this extra step.
Every person who has ever worked with archives knows the pain of loosing valuable images to hard drive failure. So once you get your working archive organized, please back it up! Believe me, you will thank me later. That’s it! Now you have a small selection of quality images that your organization can use in the future. It will save you so much time in the long run to have your images organized.